I
love the 'puttu-kadala curry combination, a Malayalee staple, and my husband
does not…which means that it is not made very often at our home. When I was in
India, earlier this summer, I had decided to fill up on all the foods that I
don’t make here. My mother had mentioned a street vendor near our home, who
sold fresh puttu every morning. My father went one day, but the guy had sold
out completely, by around 7.30 A.M. Imagine how good his business must be..and
his puttu too! Finally, towards the end of my stay, I got to taste his puttu
and kadala curry. They were really good, a little too spicy, but tasty!
Back
home after my vacation, I realized that Square Meals did not have a post on
puttu…how embarrassing even for a half-mallu blog!!! I had to rectify the
situation immediately, so I decided to make it over the weekend. My very
reluctant husband also agreed and I was thrilled.
Ingredients
Puttu (Serves
1)
Note: I make mine in
a coconut shell, so the proportions will vary for those who use the cylindrical
puttu pot/steamer.
Rice flour – 1
cup
Salt – ½ tsp
Grated coconut
as required
Water as
required
Coconut shell
Method

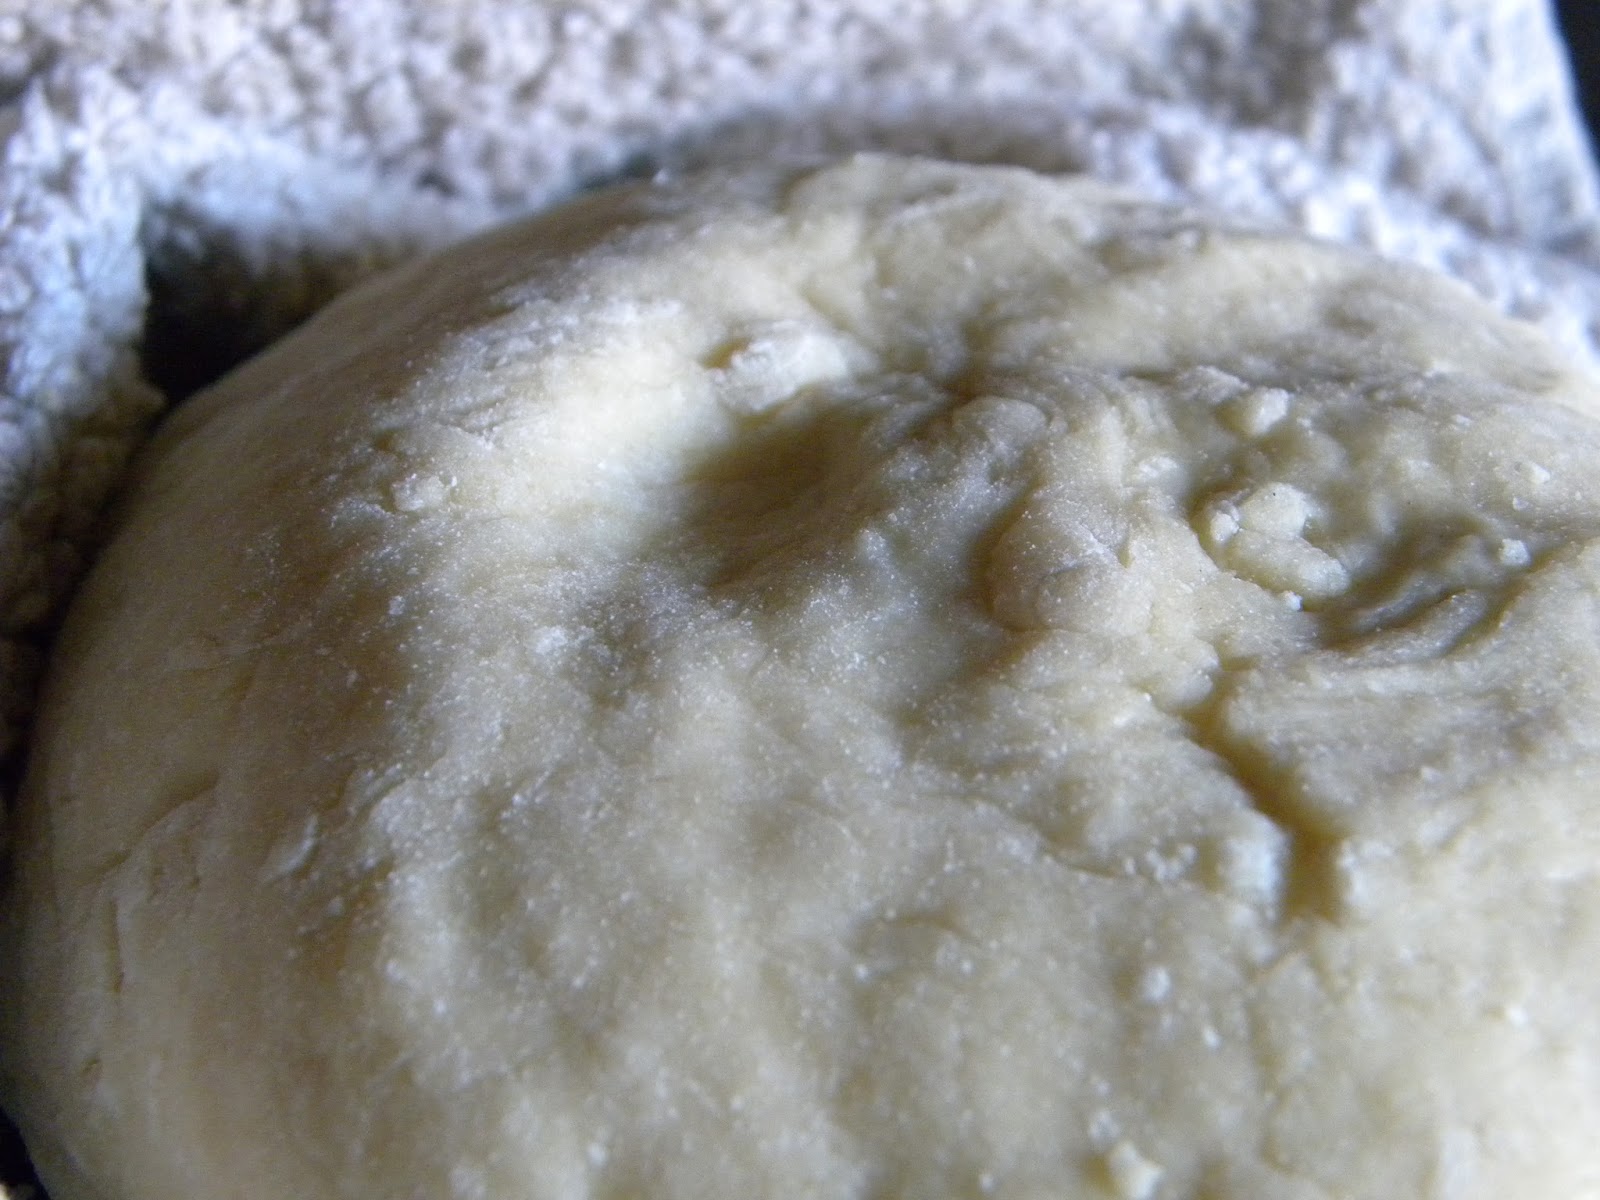
Mix
the rice flour and salt. Now sprinkle water with one hand while you mix the
flour with your finger tips. Continue until the flour takes on a slightly
crumbly texture.The test is to take some of the flour mixture and squeeze it in
your hand. When released, it should hold its form and not fall apart.
 As
the rice flour is being prepped, fill the pressure cooker or puttu pot with
about 2-21/2 cups of water and place on the stove. This way, the steam will
have formed by the time you place the puttu for cooking. When choosing a
coconut shell, pick one that is stable when placed on the cooker.
As
the rice flour is being prepped, fill the pressure cooker or puttu pot with
about 2-21/2 cups of water and place on the stove. This way, the steam will
have formed by the time you place the puttu for cooking. When choosing a
coconut shell, pick one that is stable when placed on the cooker. Place
a tablespoon of coconut at the bottom (coconut shell/puttu cylinder), top with
half of the flour mixture. Place another tablespoon of coconut and top off with
the remaining flour. You can add more coconut as the last layer if you please.
Carefully place the coconut shell on the nozzle of the cooker (where you would
usually put the weight), cover and let it cook.
Place
a tablespoon of coconut at the bottom (coconut shell/puttu cylinder), top with
half of the flour mixture. Place another tablespoon of coconut and top off with
the remaining flour. You can add more coconut as the last layer if you please.
Carefully place the coconut shell on the nozzle of the cooker (where you would
usually put the weight), cover and let it cook.
Depending
on the size of the coconut, the puttu will take about 10-12 minutes to cook.
Once done, remove the coconut shell, carefully, place a plate on it and gently
turn upside down. Voila, your steamed rice cake is ready to be devoured.
Puttu
is traditionally eaten with kadala curry (black channa), payar curry (green
gram), banana and papad. Another combination, to satisfy your sweet tooth, is
puttu with sugar and banana.
Since
the kadala curry was the bait to get my husband to eat puttu, I had no other
option.
Ingredients
KadalaCurry
(Serves 2)
Black channa –
½ cup
Coriander seeds
(dhania) – ½ tbsp
Cumin seeds
(jeera) – 1 tsp
Red chilies –
2-3 (more or less according to taste)
Pearl onion
(sambar onion) – 3-4 (for grinding) and 2-3 tbsps finely chopped for seasoning
Coconut oil –
1-2 tbsps
Grated coconut
– ¼ cup
Salt to taste
Curry leaves
for garnish
Method
Soak
the channa for 6-7 hours or overnight and cook. Even after a 7 hour soak, the
channa took 8 whistles in the pressure cooker. So, you'll just have to re-cook
it if it is not done the first time around.

Heat
2 tsps of oil in a small pan and add the coriander seeds, cumin, small onions and red
chillies. Sauté until the coriander seeds pop when pressed. Turn off the heat
and add the grated coconut. Grind into a smooth mixture and keep aside.
Meanwhile, place the channa back on the stove. If there is too much water,
remove drain and keep aside for later use. Add the ground mixture to the
channa, add salt to taste and mix well. Allow it to simmer for 10 minutes. If
the gravy feels too thick, add some of the liquid that you removed earlier. As
it simmers, sauté the chopped pearl onions in coconut oil until dark brown. Keep
ready.
Once
the gravy comes together well, take it off the heat, add the curry leaves and
the sautéed onions and serve with your puttu.

Note: This kadala
curry can be paired with Idiyappam (string hoppers) and Aappam (an Indian
pancake).
Puttu can also be made with ragi
flour, wheat flour and maize.